Published
- 5 min read
มา install ArgoCD บน GKE Cluster กัน
ต่อจากบทความที่แล้ว ก็จะมาต่อกับการสร้าง GKE Cluster แล้วก็ตามด้วยการ apply ingress-nginx controller แล้วปิดท้ายด้วยการ install ArgoCD ครับ
เริ่มแรกก็ให้ fork repo ของผมของที่ทำ script ไว้เรียบร้อยแล้วมาครับ local-control-plane
หลังจากนั้นก็ทำตาม README เลยครับ โดยขั้นตอนแรกหลังจากที่เราสร้าง Cloud Workstation คือ setup เครื่อง VM ของเราให้สามารถ clone repo ที่ fork ไปมาอยู่ที่บนเครื่อง VM ครับ (ทำแค่ครั้งแรก ครั้งเดียวเท่านั้น)
โดยขั้นตอนผมขอยกมาจากใน README นะครับ
- Execute `gcloud auth application-default login --no-launch-browser` command to login with application-default
- Execute `gcloud auth login` command to login again
- Execute `gcloud config set project gitops-learning01` to set config project id
- Execute `sudo apt update && sudo apt install openssh-client` command to install ssh client
- Execute `eval $(ssh-agent)` command to start ssh-agent
- Copy the ssh private key from the existing ssh-key which is binding on Bitbucket/GitLab/Github...
- Execute this command on your local machine `cat id_ed25519 | pbcopy`
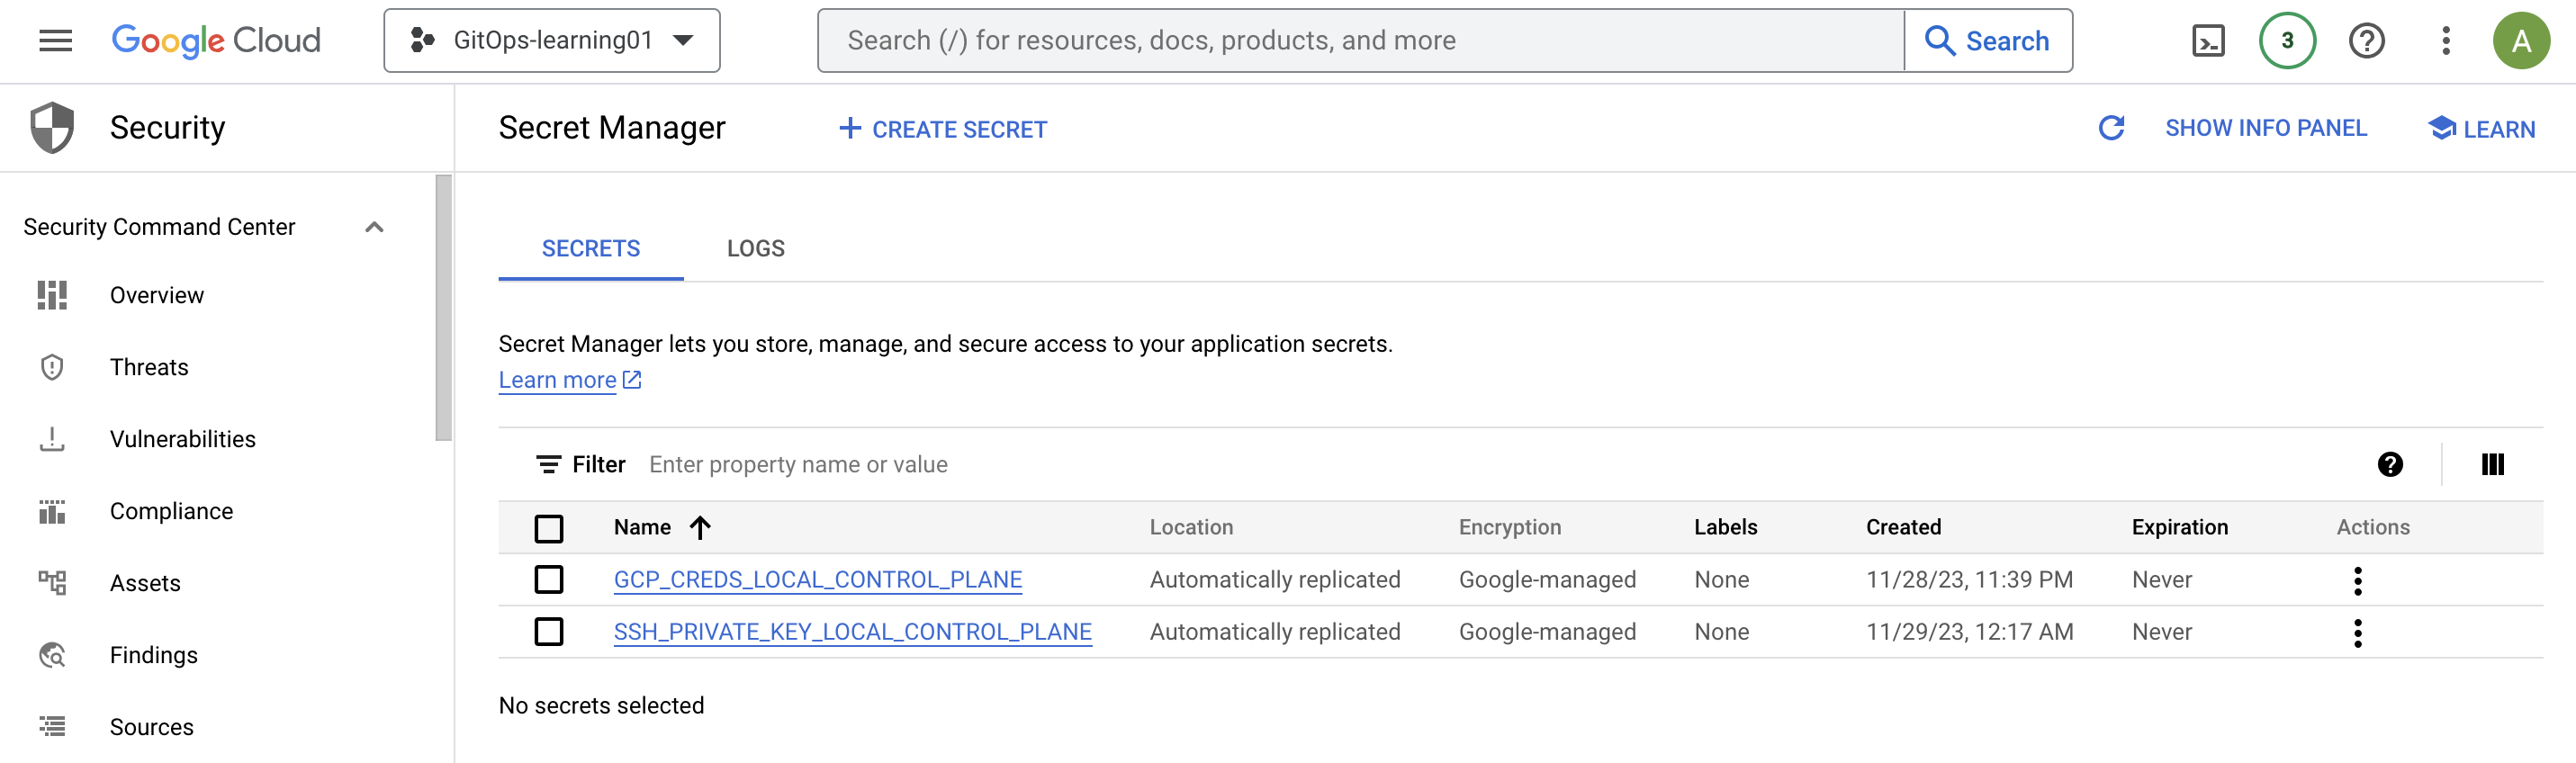
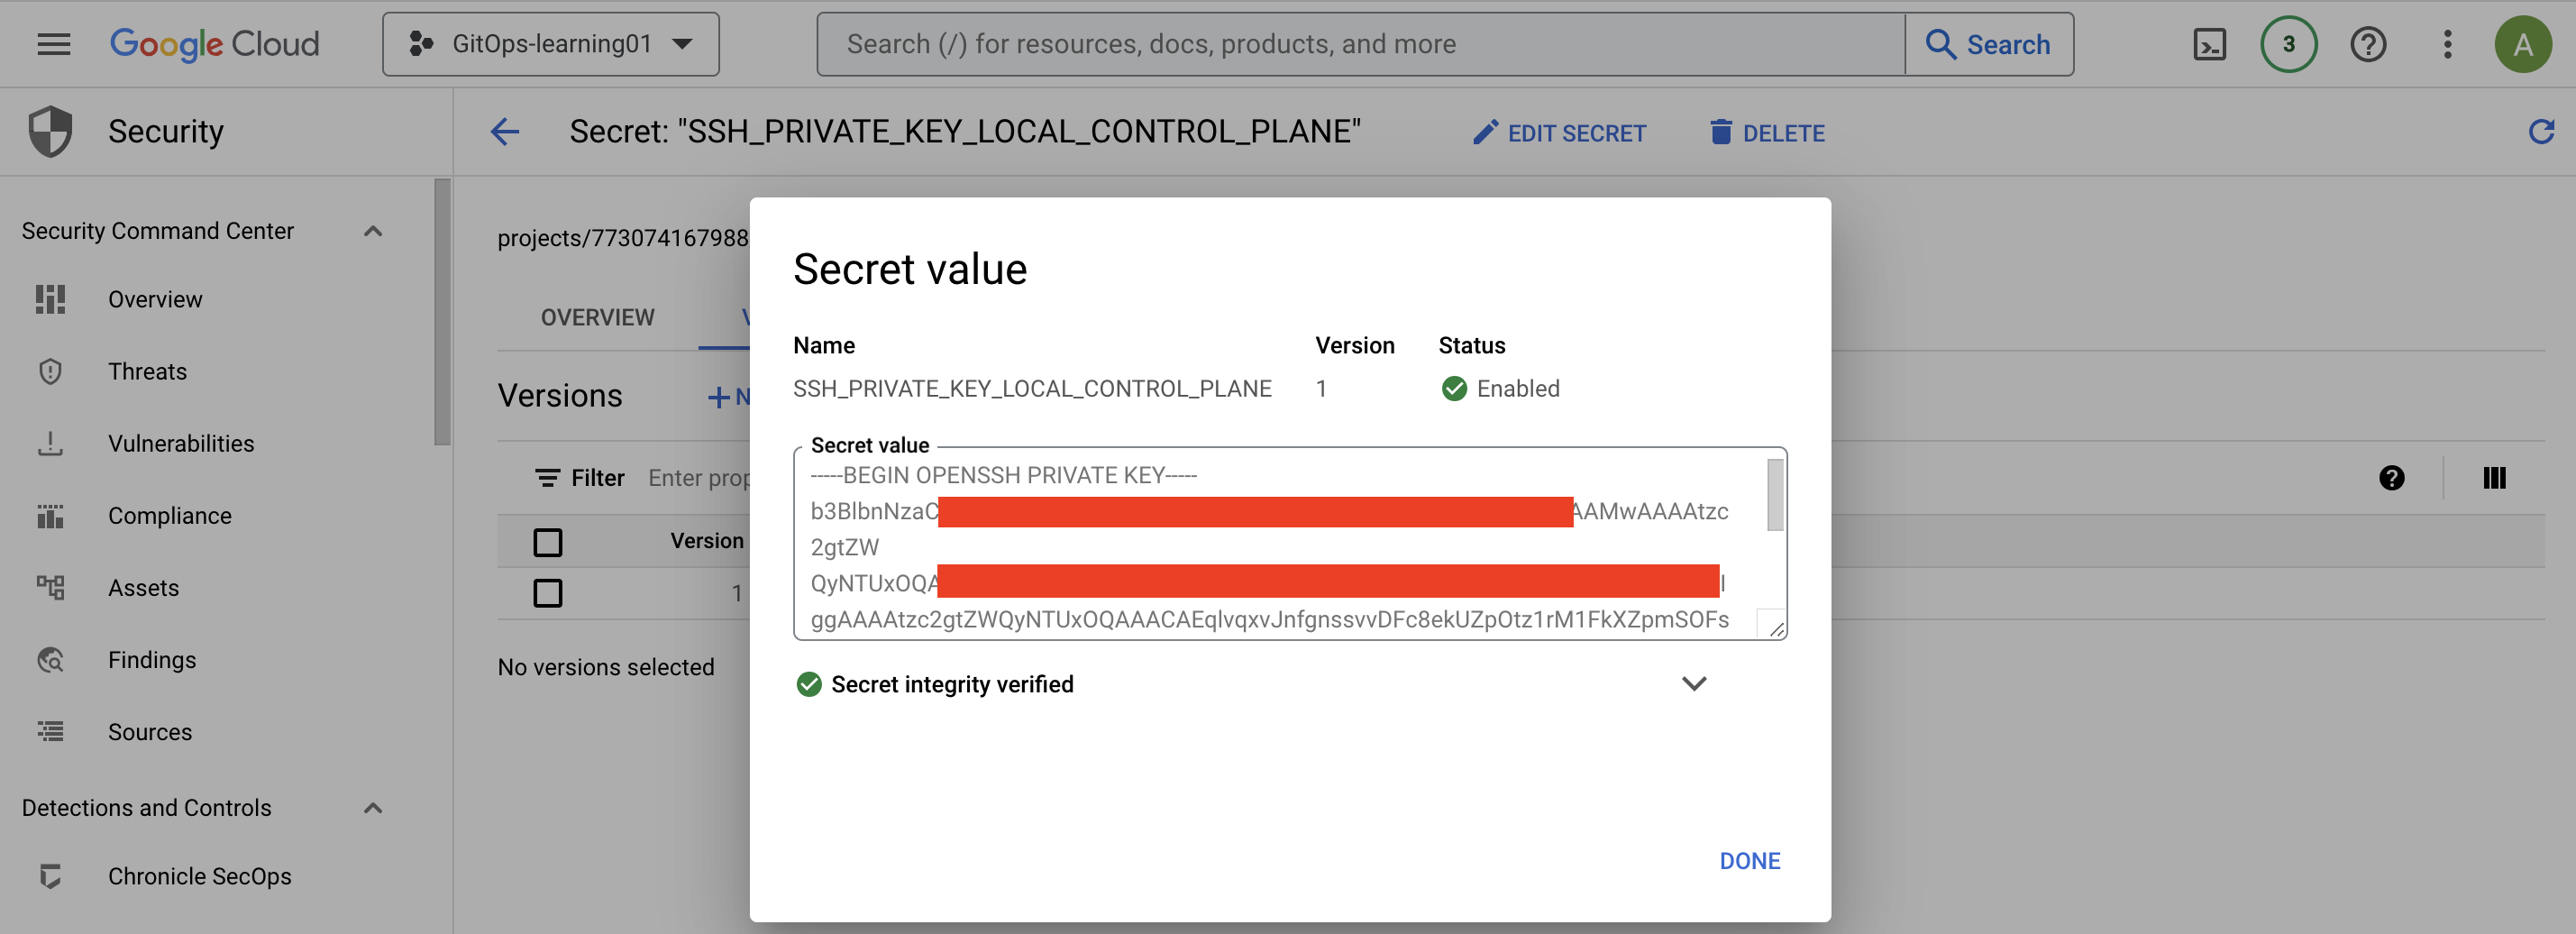
- Create a ssh-key secret using ***Google Cloud console UI*** using the previous step as value (paste on `Secret value` field) with a secret key name `SSH_PRIVATE_KEY_LOCAL_CONTROL_PLANE`
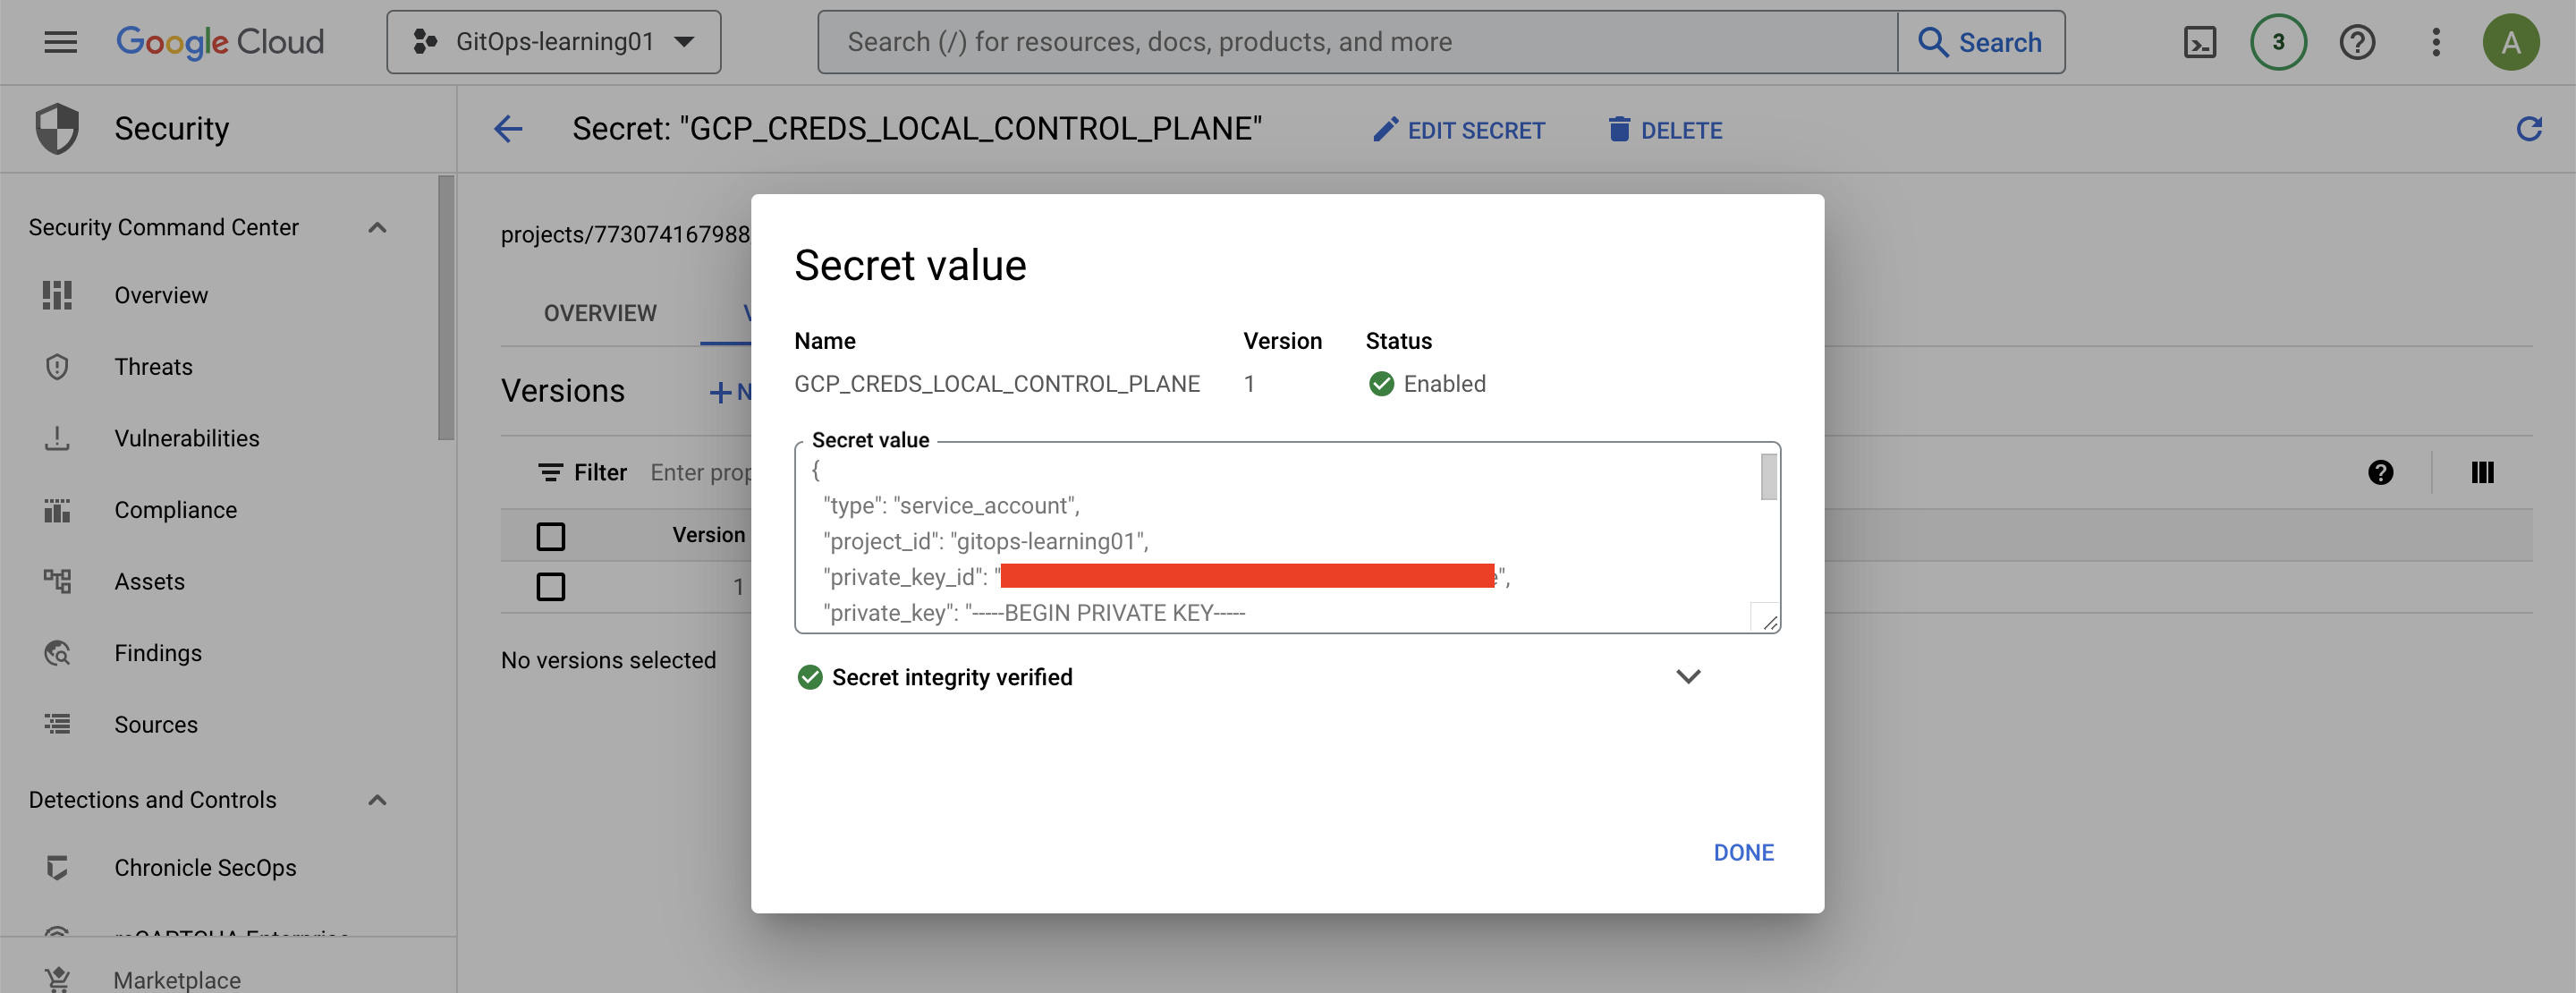
- Create a gcp-creds secret using ***Google Cloud console UI*** with a secret key name `GCP_CREDS_LOCAL_CONTROL_PLANE` and `creds.json` that you just downloaded on your local machine from `./local/download-service-account.sh` script
- Run `gcloud secrets versions access 1 --secret="SSH_PRIVATE_KEY_LOCAL_CONTROL_PLANE" --project=gitops-learning01 | ssh-add - >/dev/null` to add ssh-key from Secret Manager
- Run `git clone [email protected]:3ackdoor/local-control-plane.git` to clone the repo # change my git account to your git host/username
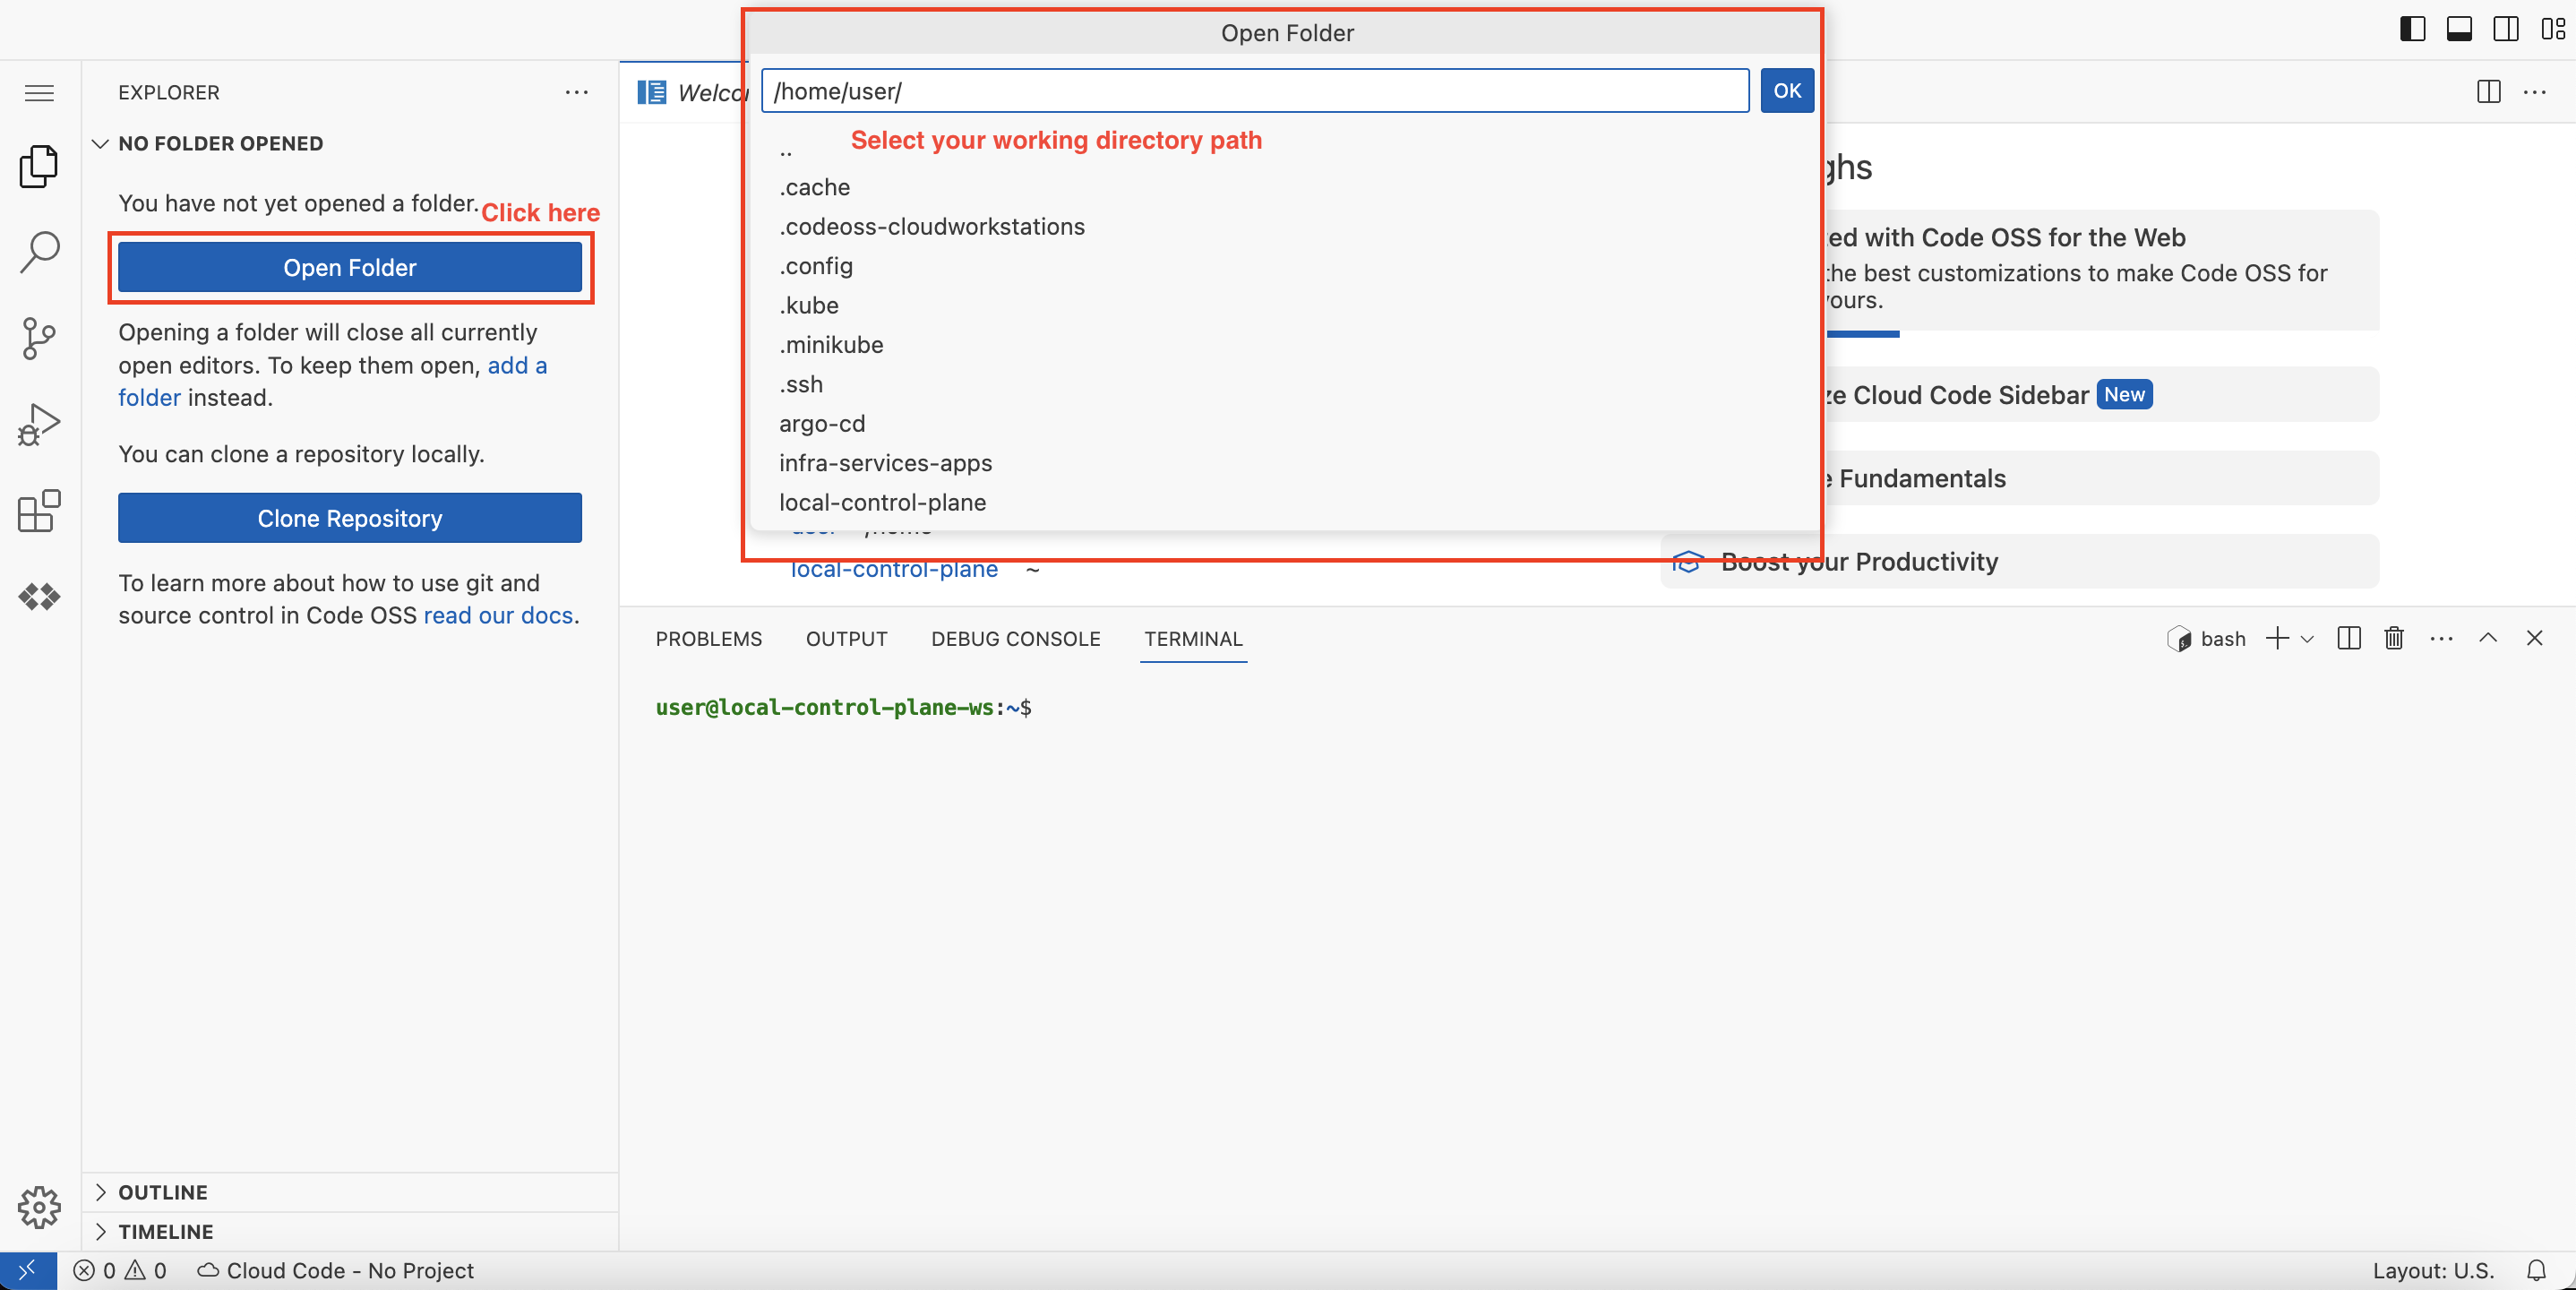
- Open `local-control-plane` project from left sidebar of CodeOSSผลลัพธ์หลังจากสร้าง secret ที่ Secret Manager
รูปตัวอย่าง UI ของ CodeOSS บนเครื่อง VM
หลังจาก setup เครื่อง VM เรียบร้อยแล้วก็มาถึงขั้นตอนการเตรียมเครื่อง VM ให้พร้อมสำหรับการใช้งานครับ โดยมีขั้นตอนอธิบายดังนี้ครับ
- start ssh-agent โดยดึงค่า private key (SSH_PRIVATE_KEY_LOCAL_CONTROL_PLANE) มากจาก Secret Manager
- ดึงค่า service account (GCP_CREDS_LOCAL_CONTROL_PLANE) มาจาก Secret Manager
- setup git username/email สำหรับ account ของตัวเราที่จะใช้ทำงาน
- สั่ง minikube cluster ที่ติดมากับ CodeOSS ให้ start เพื่อที่เราจะสามารถดึง kube-config มาจาก GKE cluster ได้ครับ
- เปิด control plane authorized networks เพื่อที่จะอนุมัติให้ non-GCP source IPs สามารถเข้ามา access Kubernetes control plane ผ่าน HTTPS protocol (ในที่นี้จะเป็น IP ของเครื่อง VM ครับ)
ขั้นตอนการทำข้างต้นจากไฟล์ README จะแบ่งเป็น 2 แบบ คือ ทำผ่าน script หรือ ทำแบบ manual มือครับ
       ## Steps to repeat every startup of VM Workstation (script)

- Run `cd gcloud` to change current directory path
- Run `source ./workstation/on-startup.sh` to automatically run all setup steps
## Steps to repeat every startup of VM Workstation (manual)
- Run `cd gcloud`
- Run `eval $(ssh-agent)`
- Run `gcloud secrets versions access 1 --secret="SSH_PRIVATE_KEY_LOCAL_CONTROL_PLANE" --project=gitops-learning01 | ssh-add - >/dev/null`
- Run `gcloud secrets versions access 1 --secret="GCP_CREDS_LOCAL_CONTROL_PLANE" --project=gitops-learning01 --out-file=/home/user/.config/gcloud/root-ca.json >/dev/null`
- Run `git config --global user.email "[email protected]"`
- Run `git config --global user.name "Your Name"`
- Run `minikube start`
- Run `./workstation/pull-gke-kubeconfig.sh` or run the following commands manually
- Run `gcloud auth activate-service-account [email protected] --key-file=/home/user/.config/gcloud/root-ca.json`
- Run `yes | gcloud config set project gitops-learning01`
- Run `gcloud container clusters get-credentials gl-alpha-private-controller-cluster-0 --zone asia-southeast1-b --project gitops-learning01`
- Run `gcloud container clusters update gl-alpha-private-controller-cluster-0 --zone asia-southeast1-b --enable-master-authorized-networks --master-authorized-networks $(gcloud compute instances describe "$(gcloud compute instances list | grep local-control-plane-ws-config | awk '{print $1}')" --format='get(networkInterfaces[0].accessConfigs[0].natIP)')/32`ขั้นตอนต่อไปก็จะเป็นการสร้าง GKE cluster ครับ โดยจะมีขั้นตอนดังนี้
- สร้าง GKE cluster
- สร้าง firewall rules สำหรับ nginx-ingress เพื่อที่จะ allow ให้ GKE master nodes เข้าถึง worker nodes ผ่าน port 8443/tcp
- เตรียม reverse external static ip address สำหรับ nginx-ingress เพื่อใช้ในขั้นตอนถัดไป
       ## Setup GKE Cluster

- Run `cd gcloud` to change current directory path
- Run `./workstation/create-gke-cluster.sh` to create GKE Cluster then wait for provisioning process
- Run `./workstation/create-firewall-rules-for-nginx-ingress.sh` to create a firewall rule for nginx-ingress
- Run `./workstation/create-reverse-external-static-ip-address.sh` to create a reverse external static ip address for nginx-ingress
ขั้นตอนถัดไปเราจะต้อง fork repo infra-services-apps มาไว้บนเครื่อง VM เราครับ โดยสามารถทำได้ตามนี้เลย
       ### Clone infra-services-apps repo to VM

- Run `cd ~` to change current directory path
- Run `git clone [email protected]:3ackdoor/infra-services-apps.git` to clone infra-services-apps and follow the instruction in README.md file # change my git account to your git host/username
หลังจากนั้นเราต้องไป clone ArgoCD project มาจาก official repo เพื่อที่จะ install ArgoCD แบบ HA ซึ่งผมจะใช้ version 2.8.4 ครับ
       # Clone argocd project from official repo at the same directory path level as infra-services-apps

git clone -b v2.8.4 https://github.com/argoproj/argo-cd.git
ขั้นตอนสุดท้ายก็จะเป็นการ install NGINX-ingress และ ArgoCD บน GKE cluster โดยผมจะอธิบาย step คร่าวๆ จากใน README ดังนี้ครับ
- update ค่า YOURDOMAIN_COM ในไฟล์ env-vars.sh โดยใส่ชื่อ domain ของตัวเองครับ เช่น YOURDOMAIN_COM=anewlife.dev
- replace ค่าต่างๆ ของไฟล์ที่เป็น template โดยในที่นี้เราจะ deploy โดยใช้ NGINX-ingress มาทำหน้าที่เป็น load balancer (ingress controller) ให้กับ ArgoCD
- ทำการ run script เพื่อ install ArgoCD และ NGINX-ingress โดยใช้ Kustomize มาช่วยจัดการ manifests configuration ครับ
       # Update `./scripts/env-vars.sh` -> `YOURDOMAIN_COM`
vi ./scripts/env-vars.sh

# Create Static IP (skip this if you have already done this before)
gcloud compute addresses create argocd-ingress-static-ip --region asia-southeast1

# Replace env variables with envsubst
./scripts/build-nginx-tmpl-yaml.sh

# Install ArgoCD with NGINX-Ingress
kubectl apply -k module/argo-cd/overlays/alpha/nginx
อธิบายเพิ่มเติมเกี่ยวกับค่า configuration ต่างๆ ของ manifest files โดยเป็นลำดับขั้นตอนดังนี้ครับ
- setup configuration state ให้ใช้ namespace ชื่อ argocd (อันนี้คือชื่อที่เป็น default namespace จาก argocd ที่เราควรใช้ เนื่องจาก offical เขาใช้ชื่อนี้)
- ไป import manifest state จาก official repo ที่เราทำการ clone มาลงที่เครื่อง VM
- patch ConfigMap argocd-cmd-params-cm โดย config
server.insecure: "true"ตาม official document ของ ArgoCD - install NGINX-ingress
- เพิ่มสิทธิ์ cluster admin ให้กับ NGINX-ingress (cluster-admin-binding.yaml)
- เพิ่มคำสั่งที่ใช้ในการ start ingress controller เพื่อที่จะทำให้สามารถ distribute connection จาก client มาที่ server ArgoCD ได้คือ
--enable-ssl-passthrough
- patch Service object ของ NGINX-ingress โดย describe loadBalancerIP เพิ่มเข้าไป ซึ่ง value จะได้มาจากการ run command
gcloud compute addresses describe argocd-ingress-static-ip --region asia-southeast1 --format="get(address)" - apply ArgoCD Ingress object (argocd-ingress.yaml)
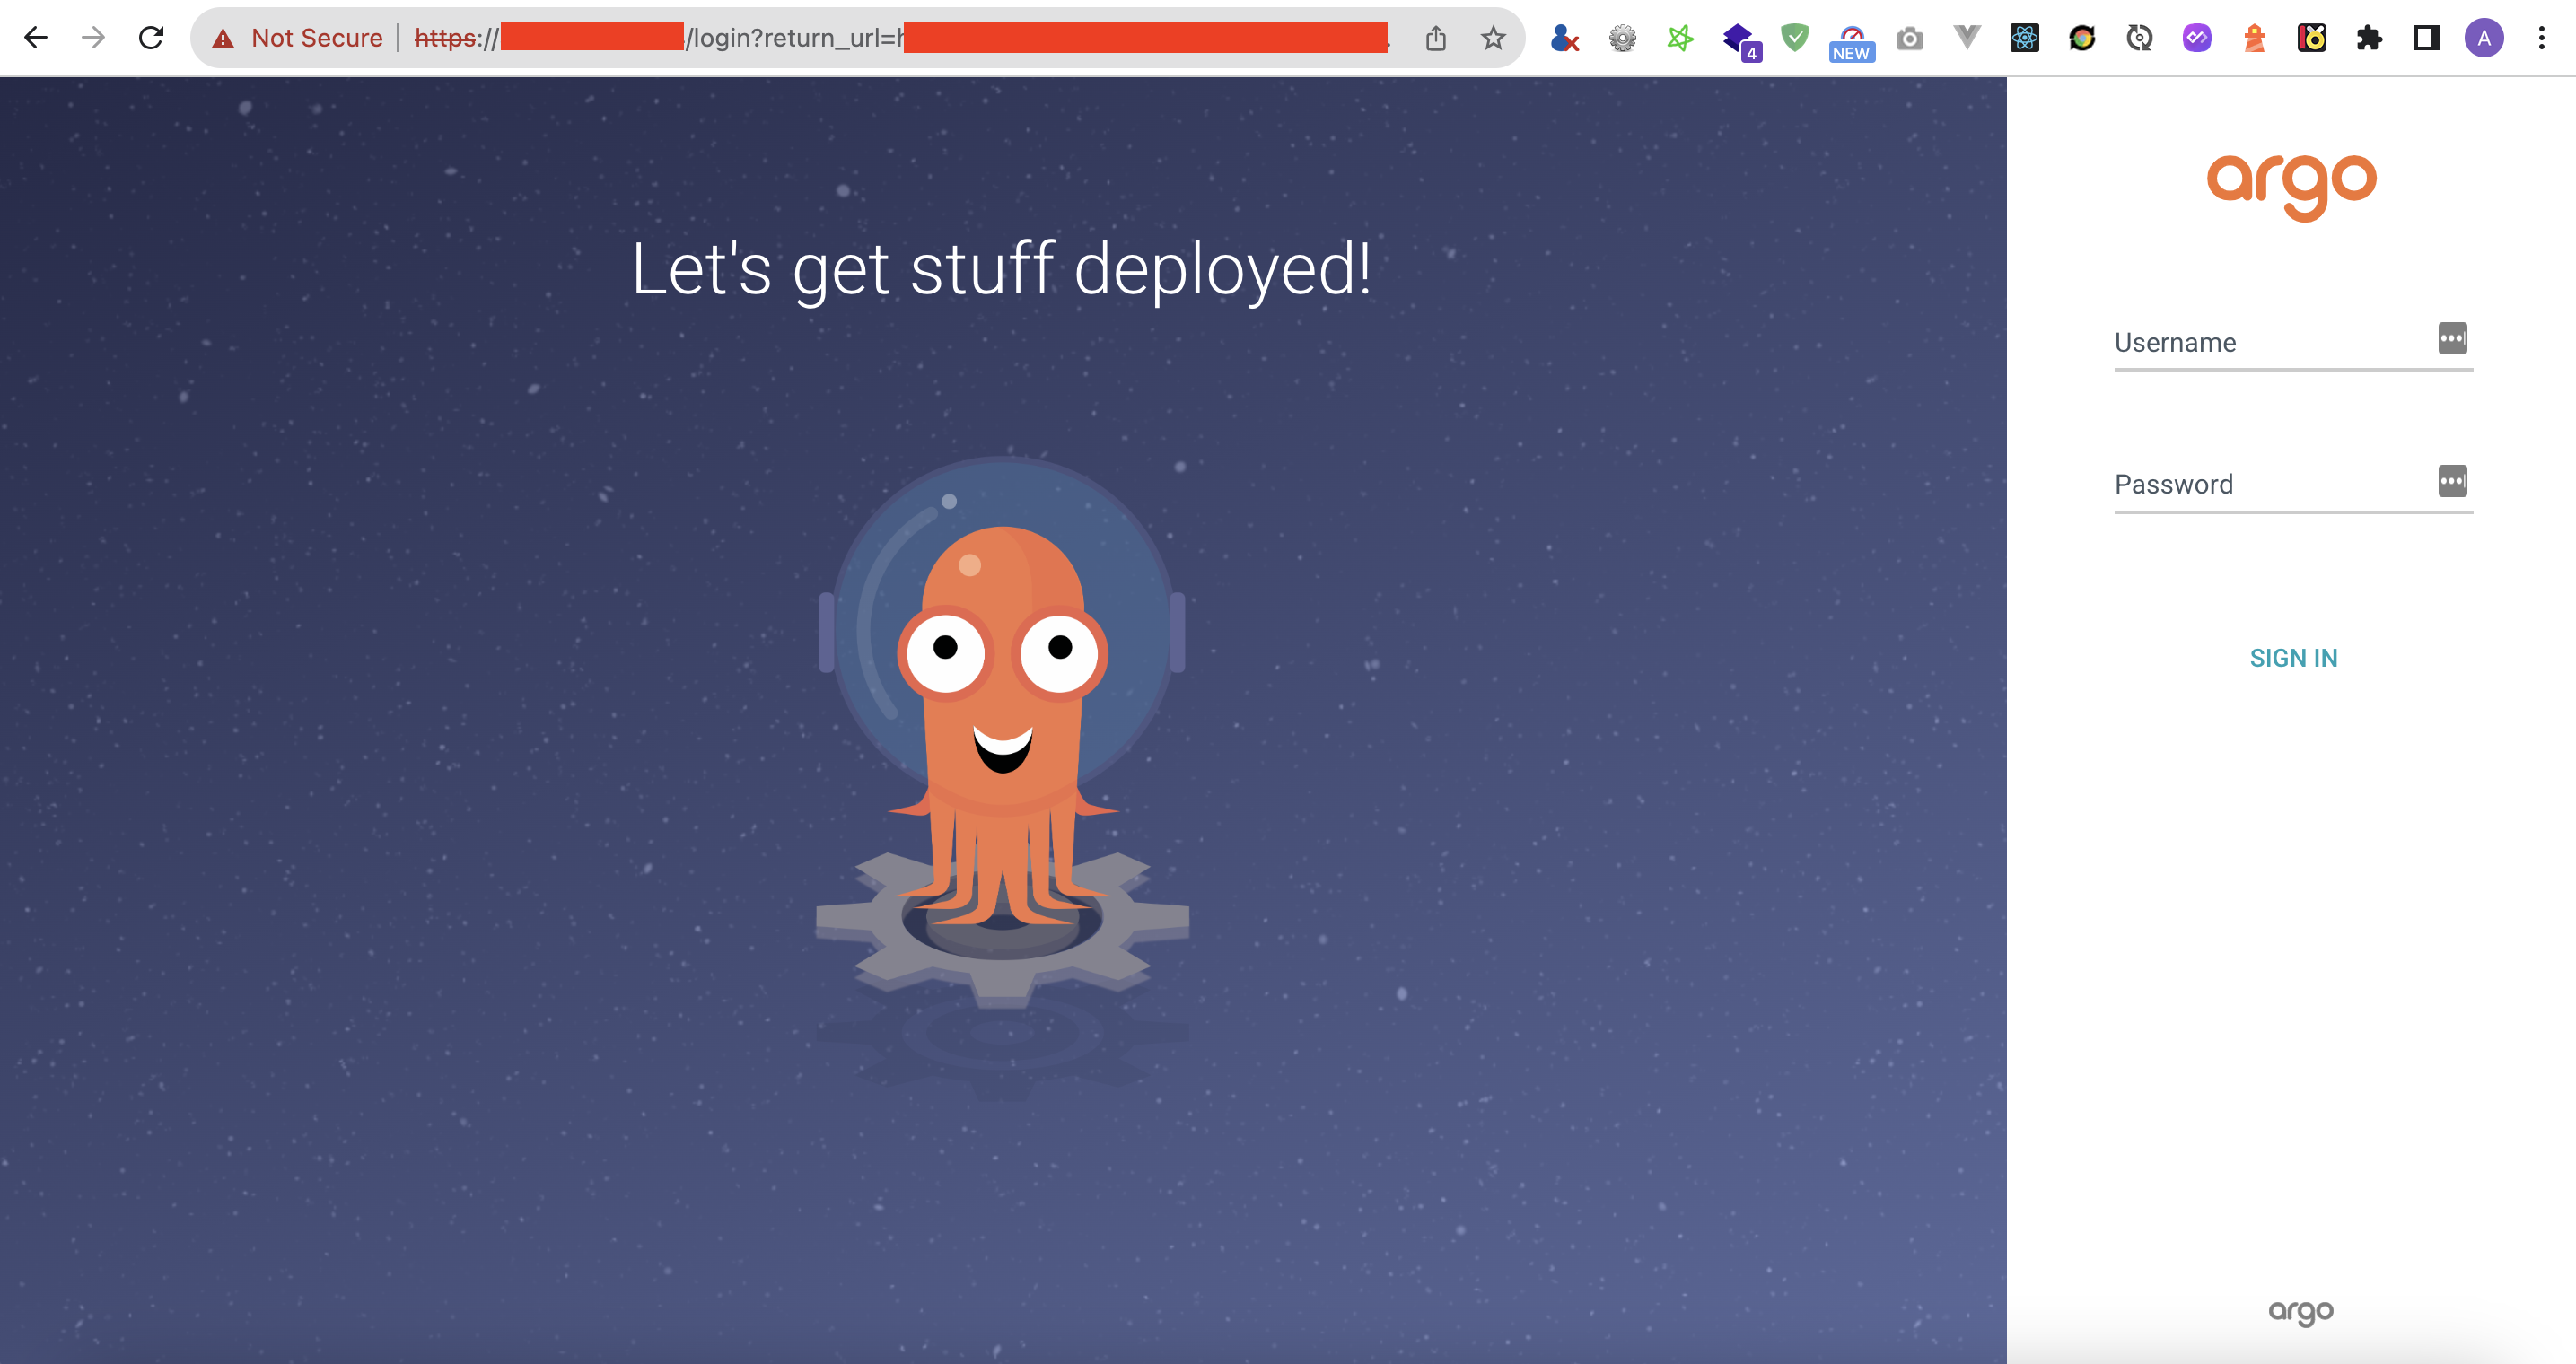
หลังจากทำเสร็จทั้งหมดให้เข้า UI ผ่าน IP Address ของ argocd-ingress-static-ip
ปล. ถ้าเป็น production ควรสร้าง firewall rules ที่ allow source ip address จาก VPN ของบริษัทที่ใช้ หรือ อาจจะ allow แค่ IP Address ของเครื่องที่ต้องการ access เข้า UI ของ ArgoCD server เป็นรายเครื่องไปครับ เพื่อที่จะกันบุคคลภายนอกเข้ามาใช้งานครับ 😁
References
https://argo-cd.readthedocs.io/en/stable/
https://cloud.google.com/sdk/gcloud/reference/
https://cloud.google.com/compute/docs/ip-addresses/reserve-static-external-ip-address
https://kubernetes.github.io/ingress-nginx/deploy/
https://kustomize.io/